Your water heater works hard every day to provide warm showers, clean dishes, and laundry cycles. But like any home appliance, it needs regular maintenance to function efficiently and safely. Whether you have a gas or electric unit, this water heater maintenance checklist will help you avoid costly repairs, save energy, and extend your system’s lifespan.
Why Regular Water Heater Maintenance Matters
Routine maintenance improves energy efficiency, prevents breakdowns, and helps you spot minor issues before they turn into major problems. A well-maintained water heater:
- Heats water faster
- Reduces utility bills
- Lasts longer (up to 10–15 years)
- Prevents leaks and plumbing emergencies
Neglecting maintenance can lead to sediment buildup, corrosion, and dangerous malfunctions.
How Often Should You Perform Maintenance?
In general:
- Inspect the unit visually every 3 months.
- Flush the tank and check the anode rod once a year.
- Schedule professional inspections every 1–2 years, especially for gas-powered systems.
If your water has high mineral content (hard water), you may need to maintain it more frequently.
Safety Precautions Before You Begin
Before touching anything:
- Turn off the power supply (for electric units) or gas line (for gas heaters).
- Allow the water to cool for several hours.
- Shut off the cold water supply valve.
- Keep protective gloves and a bucket nearby.
If you’re unsure or spot any gas-related issues, consult a licensed plumber immediately.
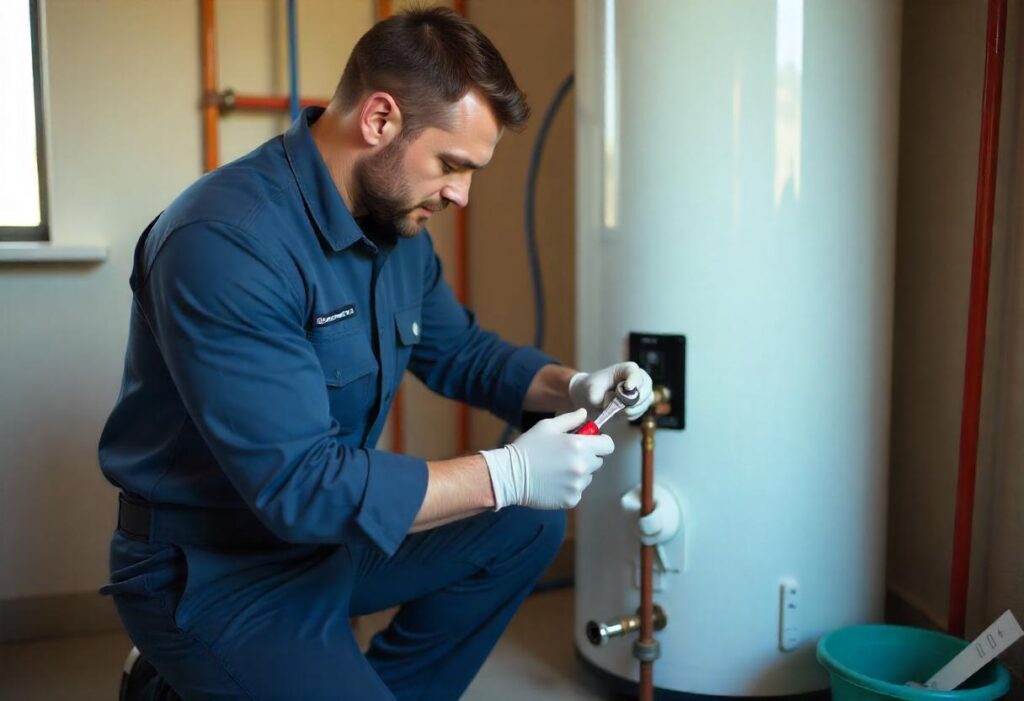
Water Heater Maintenance Checklist
Turn Off Power Supply or Gas Line
Shut off the breaker for electric models or turn the gas valve to “Pilot” or “Off” for gas models. Safety comes first.
Check the Temperature Setting (120°F Recommended)
The ideal temperature is around 120°F (49°C). This prevents scalding and reduces energy usage. You can adjust it using the thermostat dial.
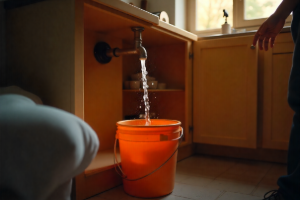
Inspect for Leaks Around the Tank
Look for pooling water, rust marks, or drips near the base. Leaks may indicate worn-out gaskets or internal corrosion—signs it’s time for repair or replacement.
Test the Pressure Relief Valve
Lift the valve’s lever briefly to ensure water flows out, then snaps back into place. If it doesn’t, replace it—this valve prevents excess pressure from damaging the tank.
Flush the Tank to Remove Sediment Buildup
Connect a hose to the drain valve and let the water run until it’s clear. Sediment buildup lowers efficiency and shortens your heater’s life.
Inspect the Anode Rod (Replace If Corroded)
The anode rod prevents tank corrosion. If it’s heavily corroded or less than ½ inch thick, replace it.
Examine Gas Connections and Venting (If Gas-Powered)
Check for loose fittings, rust, or blockages in the flue. Improper ventilation can lead to dangerous gas leaks—get a pro if anything looks off.
Check for Signs of Rust or Corrosion
Rust-colored water or visible corrosion near fittings and valves is a red flag. It could mean tank deterioration.
Insulate Pipes and Tank (If Needed)
Insulating exposed pipes and the tank helps retain heat, especially in colder climates. Use pre-cut foam sleeves or a water heater blanket.
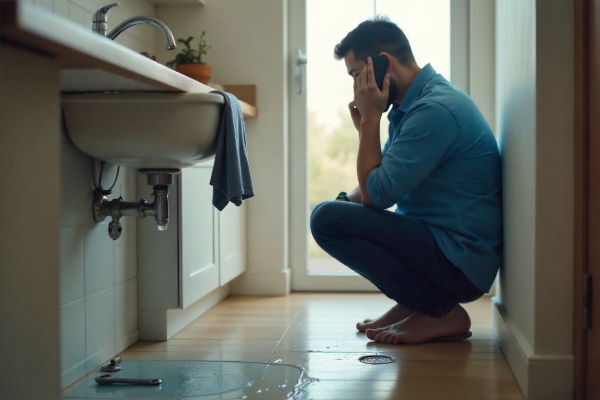
Signs Your Water Heater Needs Professional Service
Call a professional if you notice:
- Inconsistent hot water or no hot water
- Rumbling or banging noises
- Discolored or foul-smelling water
- Water pooling around the tank
- Visible rust, corrosion, or gas smell
Our guide on how to diagnose your plumbing problems can help you pinpoint the issue before calling.
When to Replace Your Water Heater
Most water heaters last 8–12 years. Consider replacement if:
- It’s near or past its expected lifespan
- Repairs are frequent and costly
- The tank is leaking
- It’s no longer energy efficient
Explore our tips for affordable plumbing services when considering a new unit.